Selenium Configuration with Eclipse Step by Step
Step 1: Goto Google.com then Enter “Seleniumhq.org” in Search Box
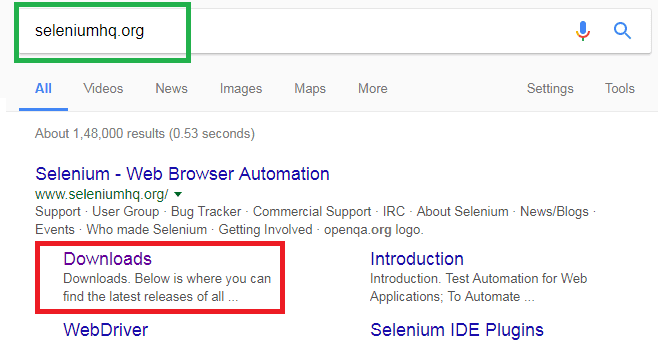
Step 2: For Best Practice and We are Selecting the “Previous Releases”. Click on that Tab

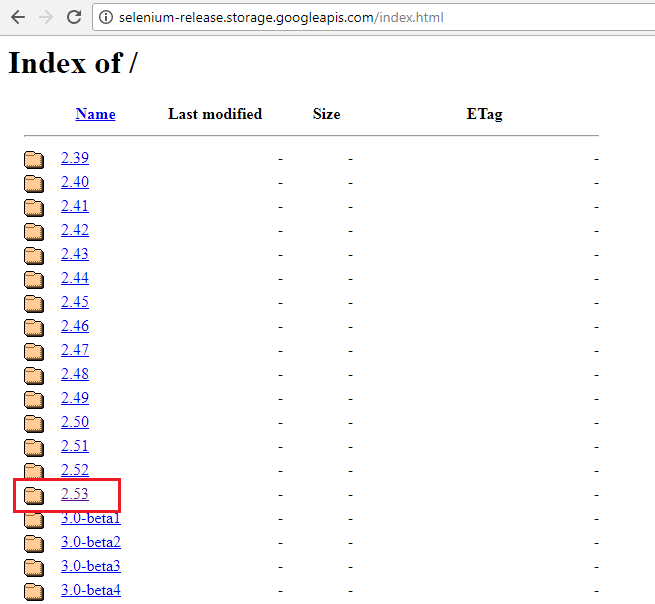
Step 3: Next Click On 2.53
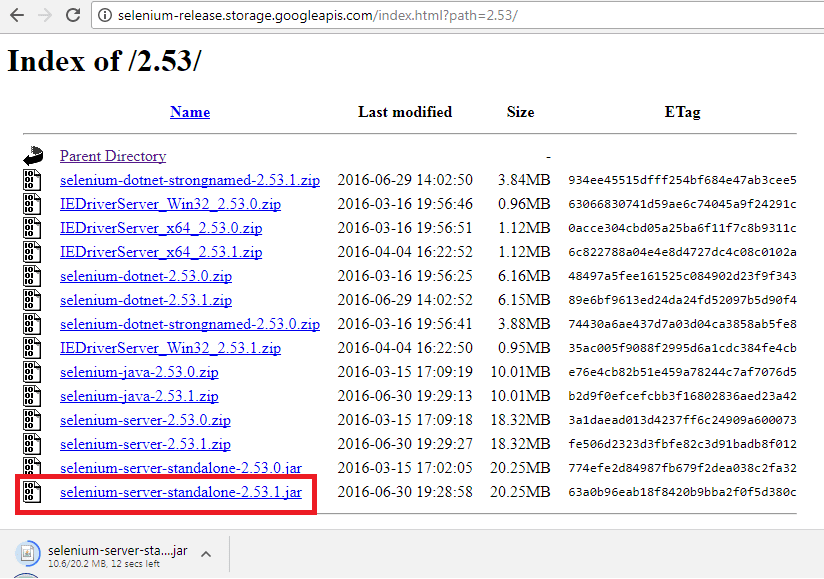
Step 4: Next Click On “selenium-server-standalone-2.53.1.jar” The Downloaded File will Show Like below Image.
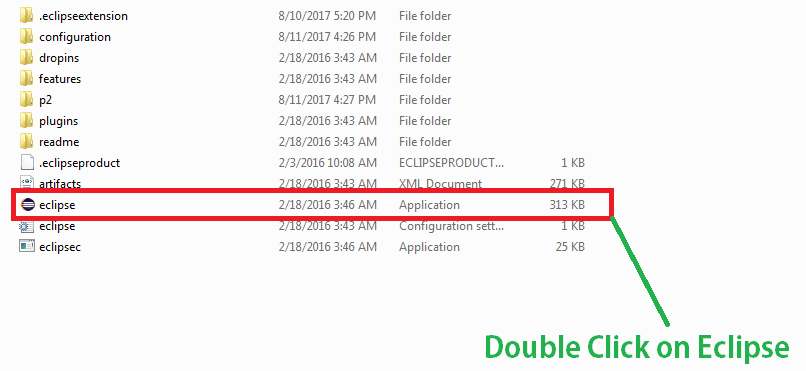
Step 5: After Downloading the Selenium Jar File.Next Open the Eclipse.
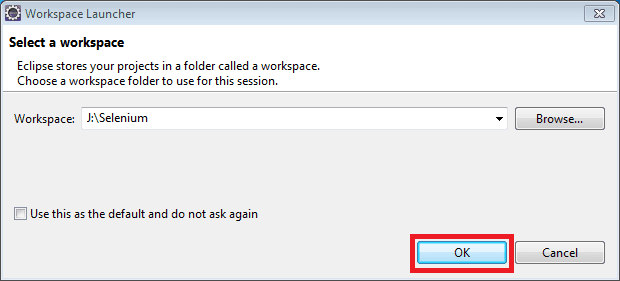
Step 6: Next Select the Workspace Click “OK”
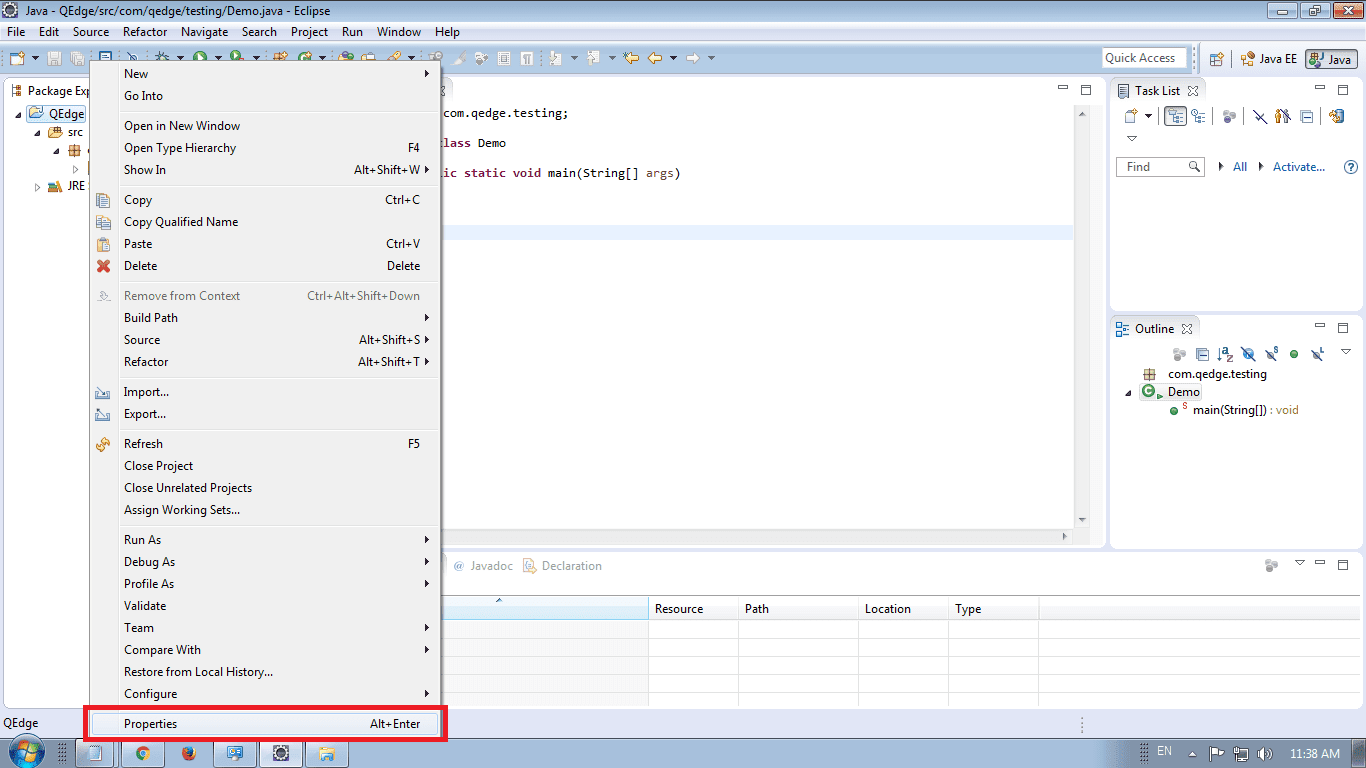
Step 7: Select Project Then Click Properties
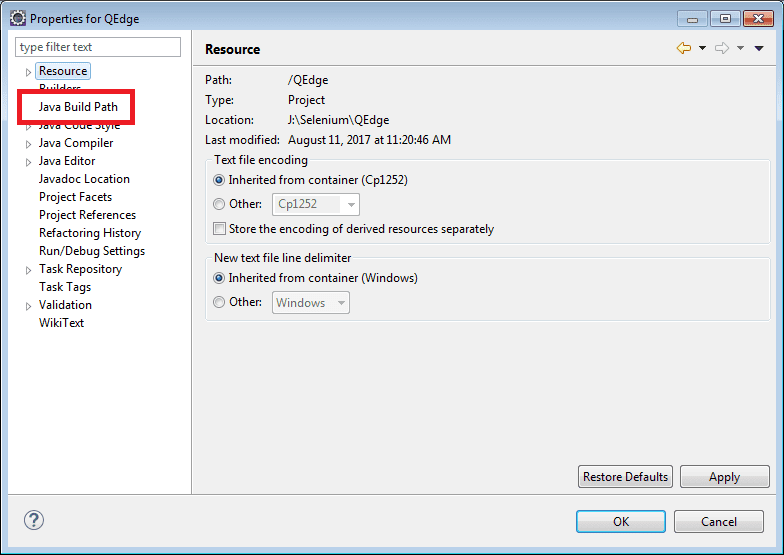
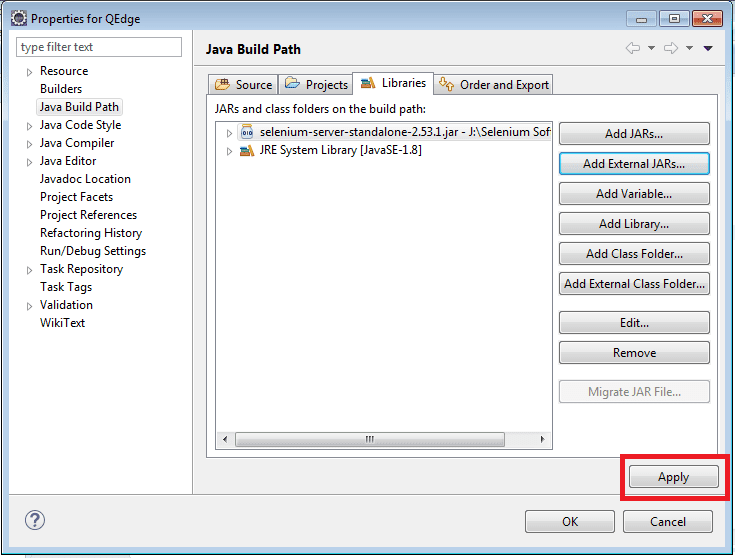
Step 8: After that Select “Java Build Path”
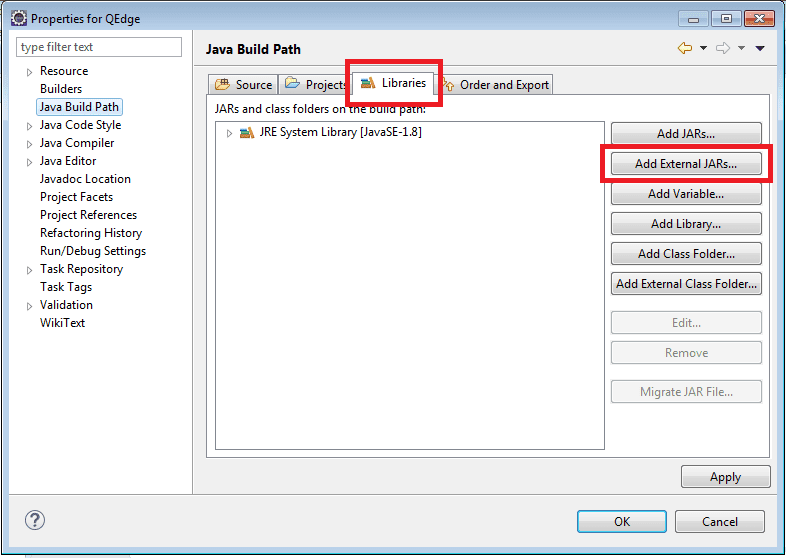
Step 9: Click “Add External JARs”
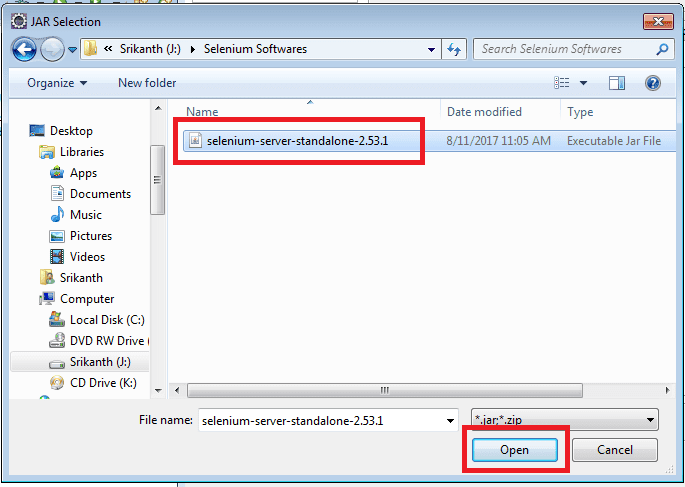
Step 10: After Selecting the External Jar. Add Selenium Jar File with Selecting ( What we download in Step 4) and then Click “Open”
Step 11: After Click “Apply” Button
Learn Here How to Install Java
