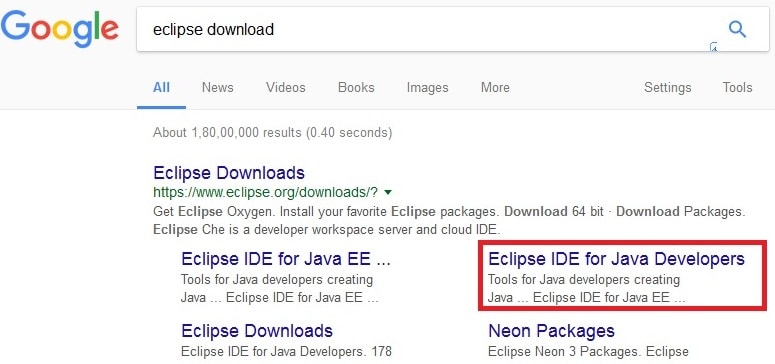
Step 1: Go to Google.com then Enter Text eclipse download. Next Click On ” Eclipse IDE for Java Developers”
Step 2: As per My System “Operating System” and Bit Operating System I select Windows 32-Bit.. if you’re having other Operating System with Bit OS.. Select as per your System Configuration. It Supports Windows, Mac, Linux..
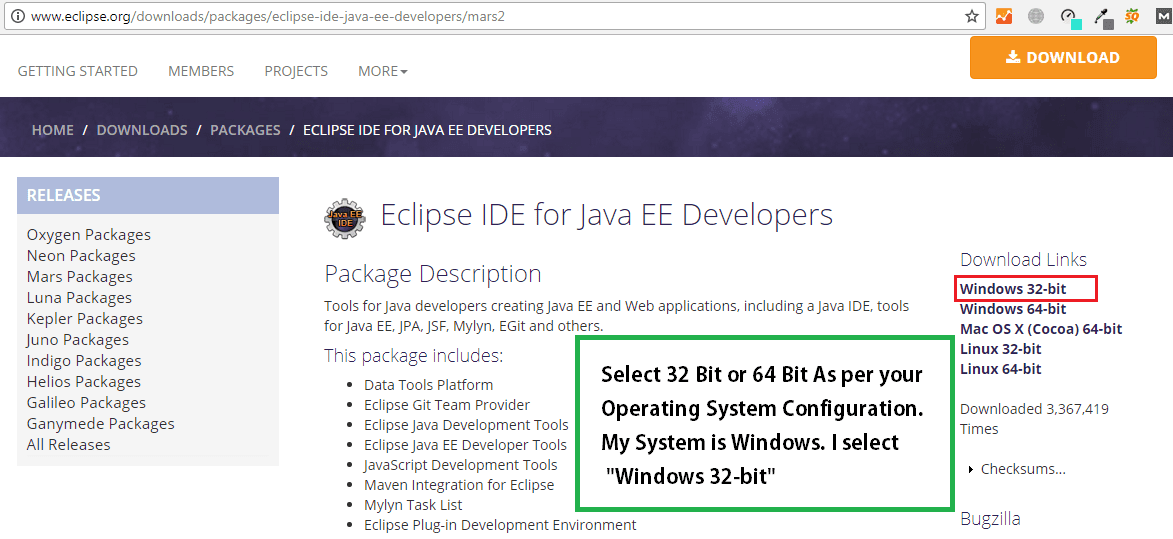
Step 3: After we will get this Image.. Next Click “Download” Button

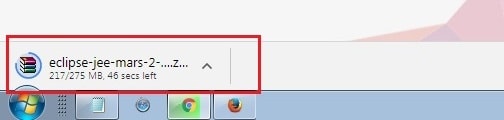
Step 4: Next We will Get the Downloading Process in Below Image.
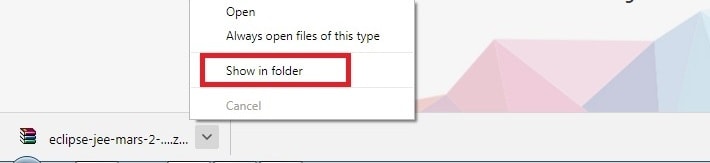
Step 5: After Completion Of Downloading Process. We will get the Image below. Next Right Click with Mouse and then Click “Show in Folder”
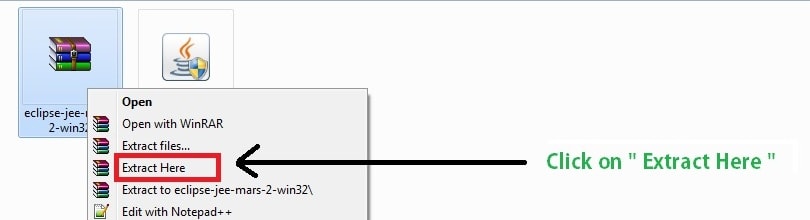
Step 6: Next We will get the Image Like this. Than Click “Extract Here” with Mouse.
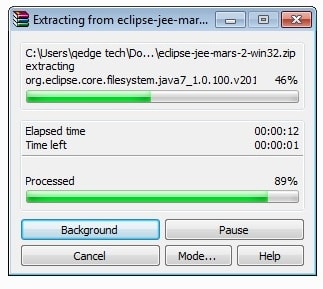
Step 7: After Clicking The Extract Files We will Get the Extracting Process Like this.
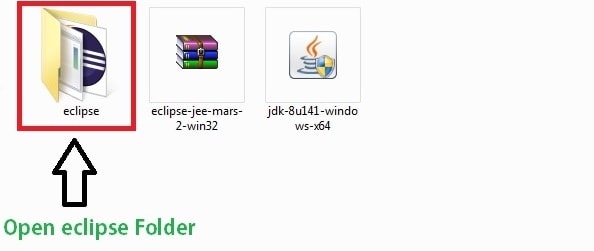
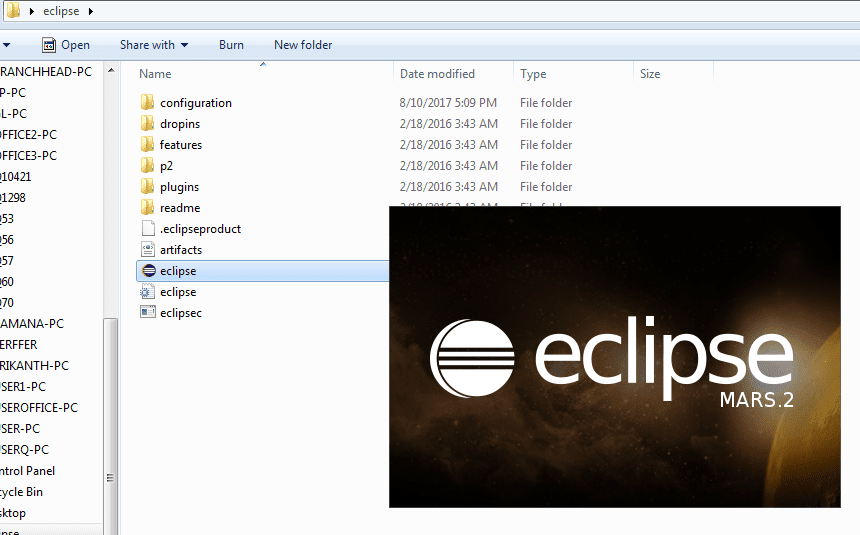
Step 8: After Completion of Extracting. Eclipse Folder is Created > Open the Eclipse Folder.
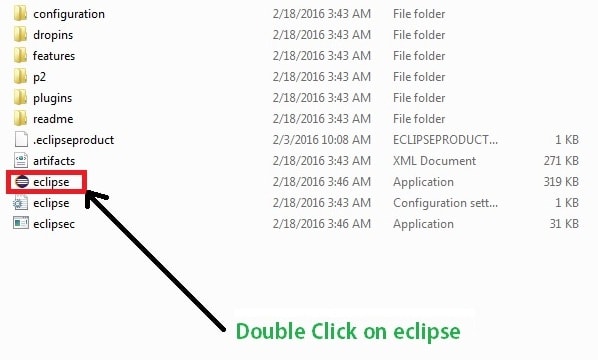
Step 9: Next “Double Click” On Eclipse.
[IF YOU GET ANY ERROR WHILE INSTALLATION : FIX ERROR CODE 13]
[IF YOUR NOT GETTING ANY ERROR > Follow STEP 10]

Step 10: Next We Will Get the Image of “Eclipse” Here.
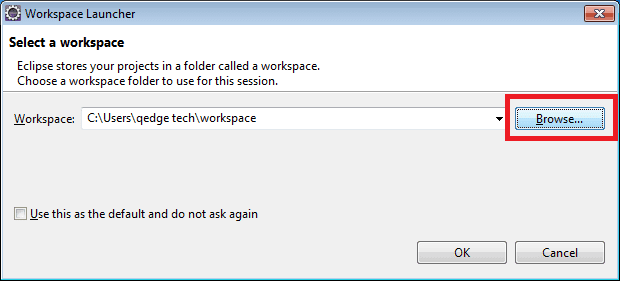
Step 11: After that We will show the Screen like this. Click On “Browse” Tab To Create the Workspace.
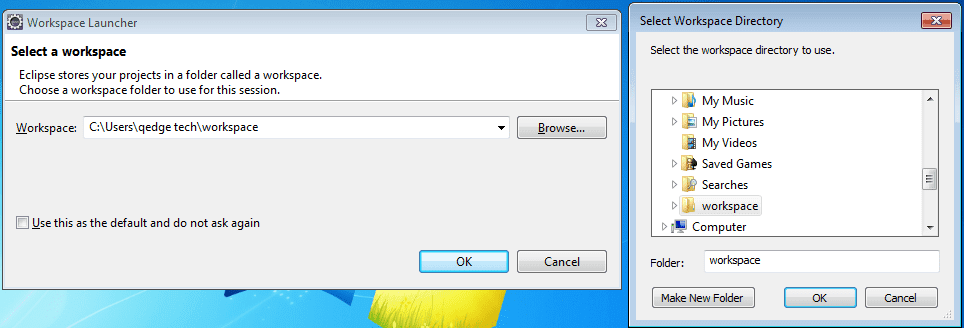
Step 12: After Clicking the Browse Tab. We will get the Screen Like this..
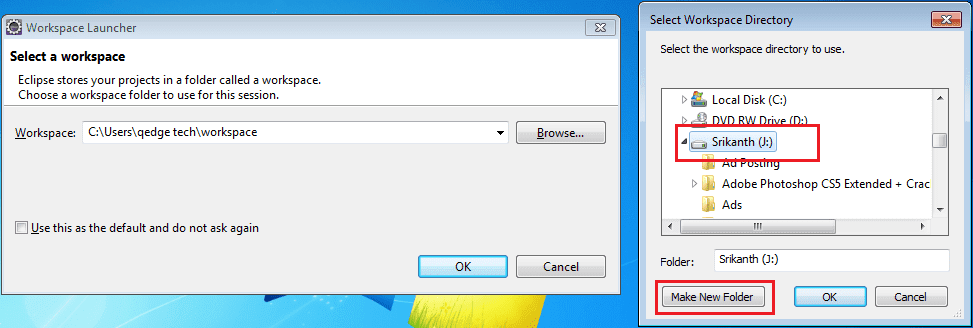
Step 13: For Creating the WorkSpage (You can Create the Workspace Anywhere You want). I Create my Work Space in “J > Drive “. Next Click “Make New Folder”
Step 14: After Clicking the Make New Folder >> Enter the Name You want. I Enter My Workspace Name is Selenium. Than Click Ok
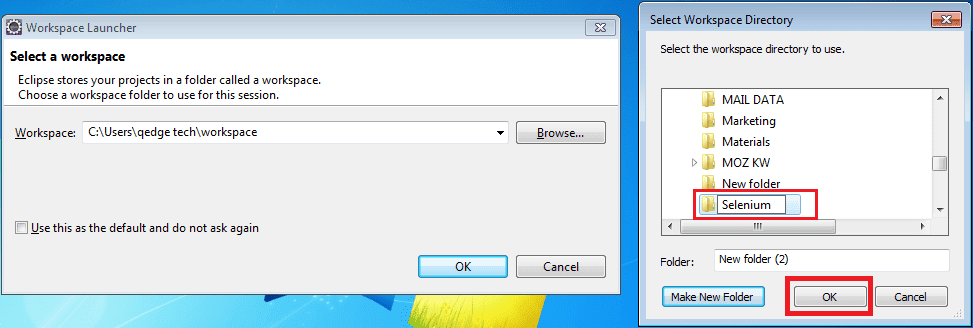
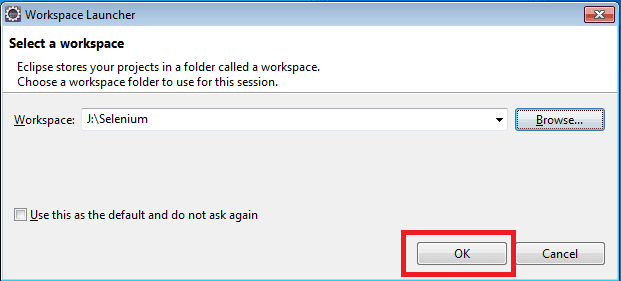
Step 15: Next Screen Appear Like this. Than Click “OK” Button
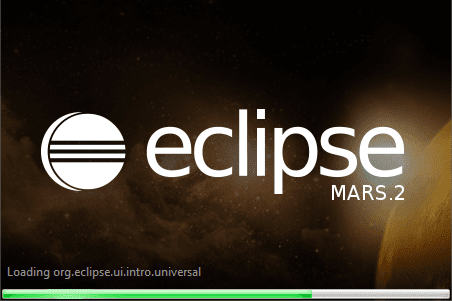
Step 16: After we are getting the Screen > Eclipse Loading.
Step 17: After Completion Of Loading Eclipse. This below Screen Appear Click On > Workbench
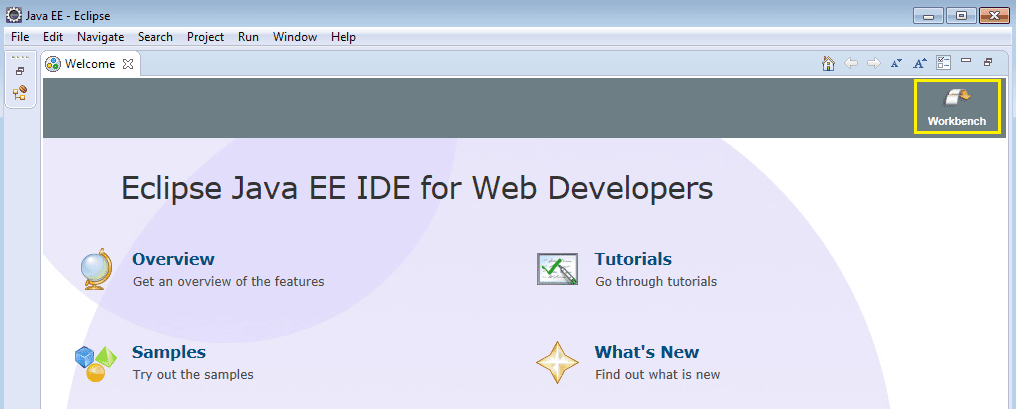
Step 18: Next Screen Appear Like this.

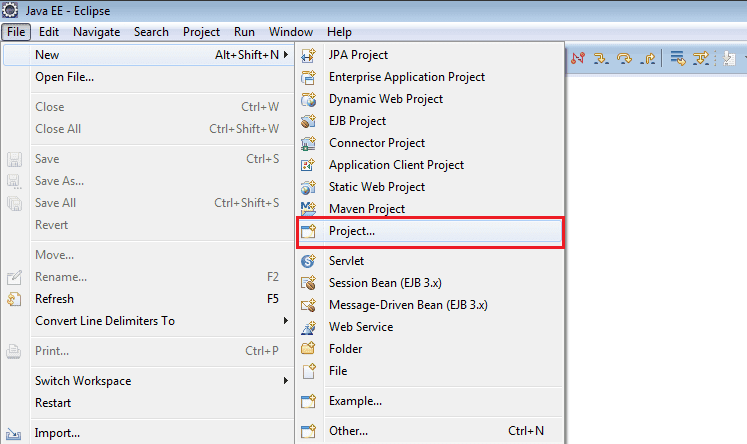
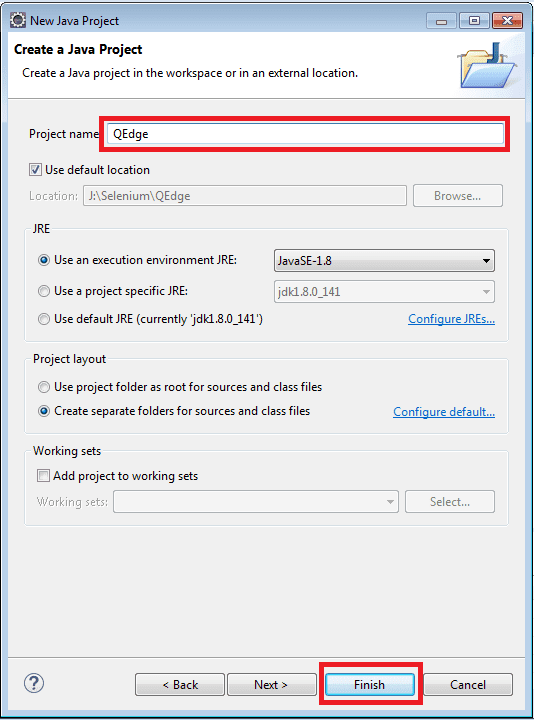
Step 19: Next Step We Need To Create “Project” For Creating the Project Go to File > New > Click On “Project” > Select “Java Project” > Click “Next” Create Project Name Whatever you want. But Create the First letter Should be Capital. I Create My Project Name as “QEdge” and then Click Finish Tab.

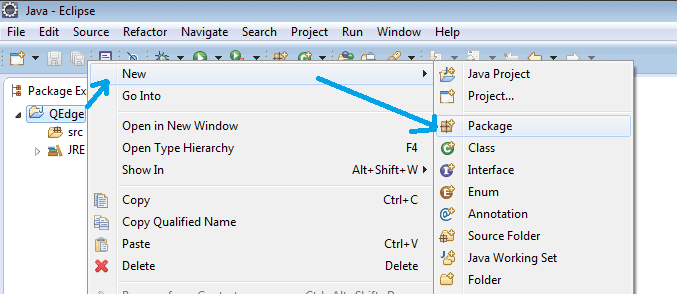
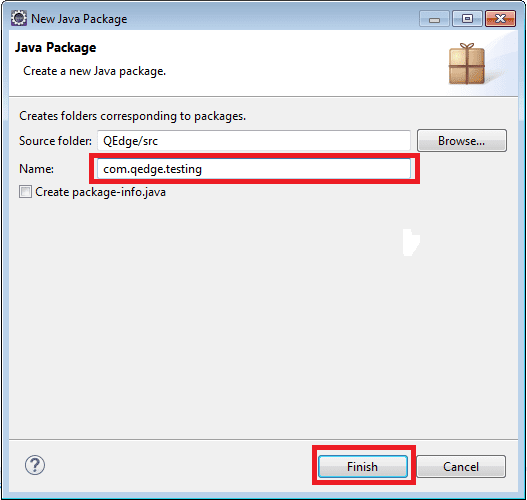
Step 20: Next We Need to Create “Package” Steps as Follows Click On “QEdge” project Folder > New > Package I Create Package Name as: com.qedge.testing ( Package Name should Starts with com.) Click “Finish” Tab You can create package name whatever you want Example: com.example.test
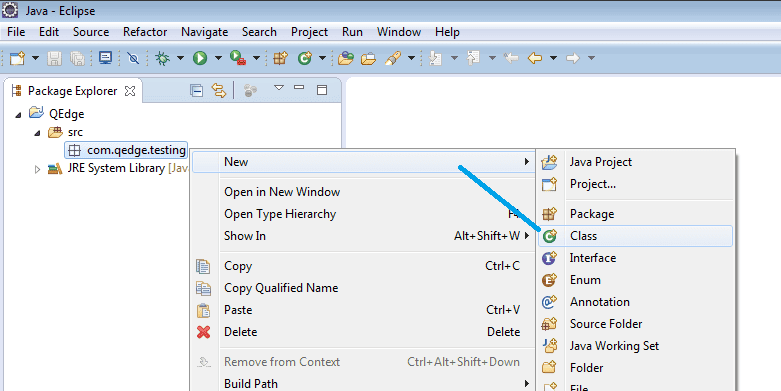
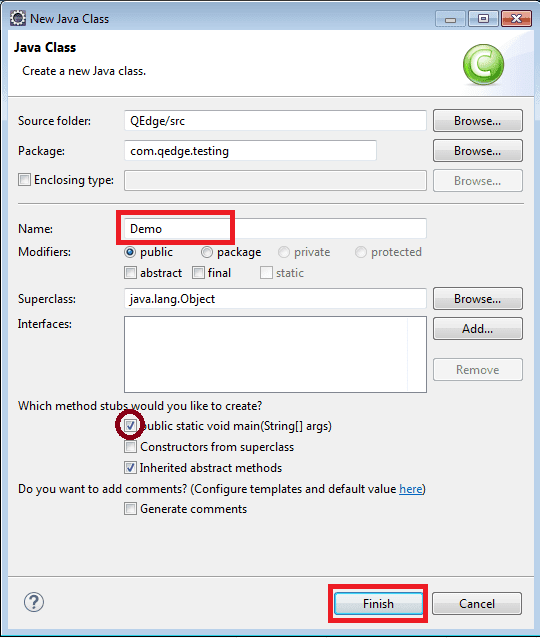
Step 21: After Creating the Package. We need to Create the Class. For Creating the Class Steps Follows. Click On Package (com.qedge.testing) > New > Click on “Class”. I Create the Class Name as: Demo (Class Name Should be Start with Capital Letter) Tik(Select) the Tab On > Public Static Void Main(String[] args) Click “Finish” Tab You can create Class name whatever you want Example: Demo
[ FOR SELENIUM WITH ECLIPSE CONFIGURATION ]